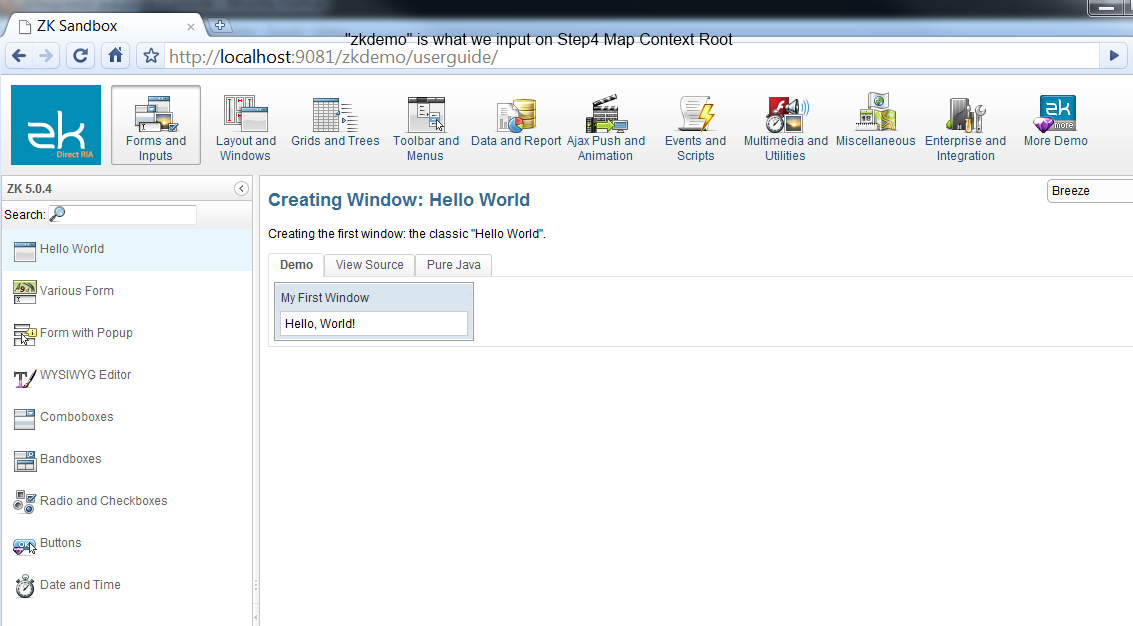
WebSphere
From Documentation
IBM WebSphere
- IBM offers a websphere application server community edition. Please go to http://www-128.ibm.com/developerworks/downloads/ws/wasce/?S_TACT=105AGX10&S_CMP=WASCE to download it.
- Follow the instruction to download, you might need to register for an account if you don't already have one.
- Under downloads, choose Server and 32bit IBM SDK 1.4.2 SR4-1, procees to download.
- Start the installer and accepts all defaults.
- Once installation is completed, go to All Programs->IBM Websphere->Application Server->Profiles->Default->Start the Server, this will start the server.
- Browse http://localhost:9060/ibm/console/secure/logon.do to deploy application
- After deployed, applications can be access via http://localhost:9080/myapp
- For additional documentation and tutorials, go to http://publib.boulder.ibm.com/wasce/Front_en.html
ZK supports Servlet 2.3, 2.4 and later. The only difference is the content of WEB-INF/web.xml is a little bit different. Please refer to Sample of web.xml and Sample of web.xml for Servlet 2.3.
IBM WebSphere 7
Import war file
1. Applications -> Application Types -> WebSphere enterprise applications -> Click install button
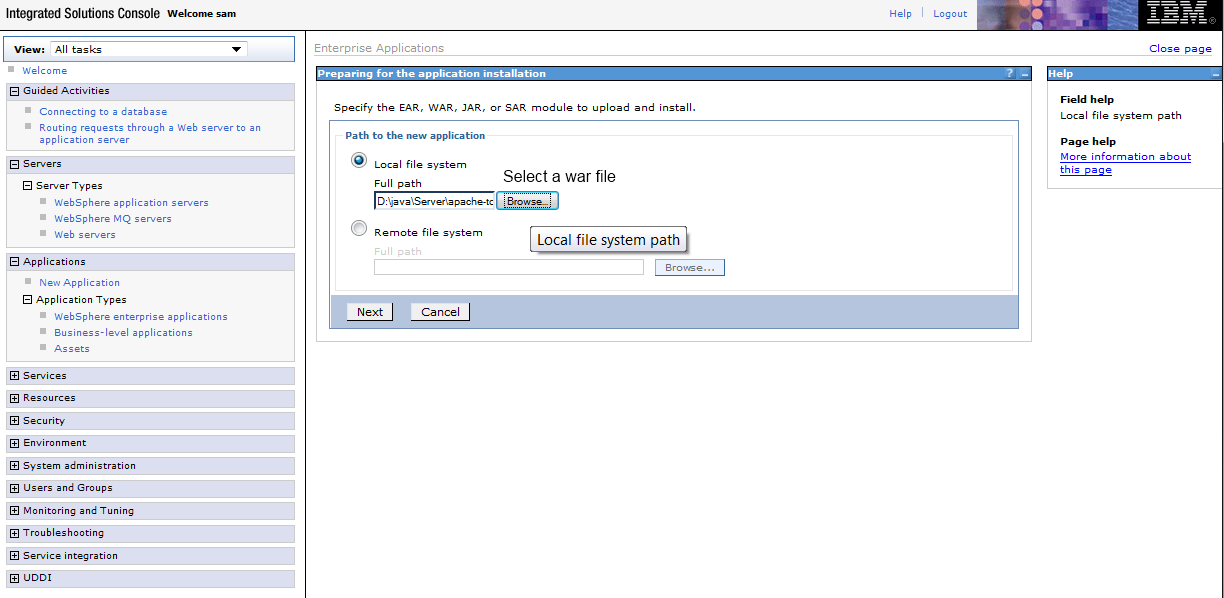
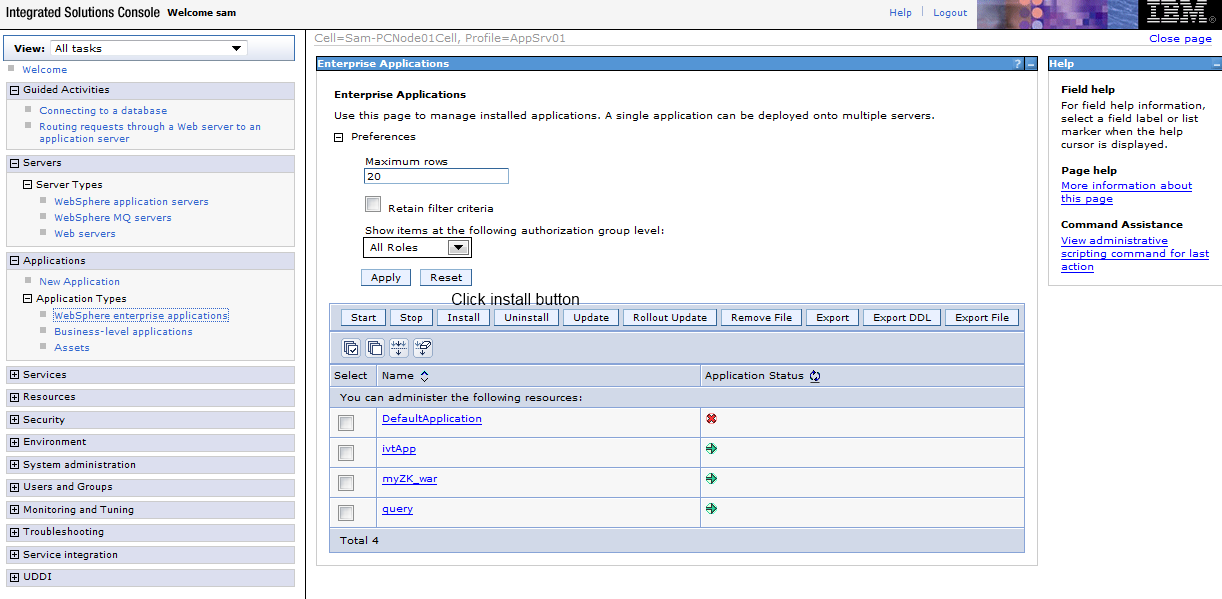 2. Select war file to import
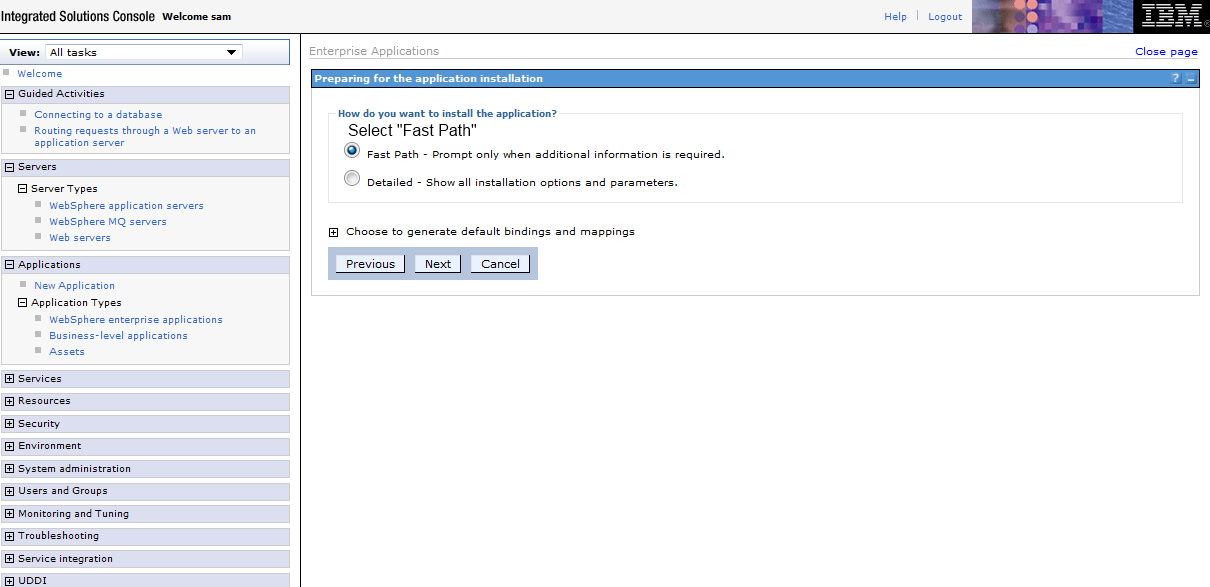
 3. Select Fast Path
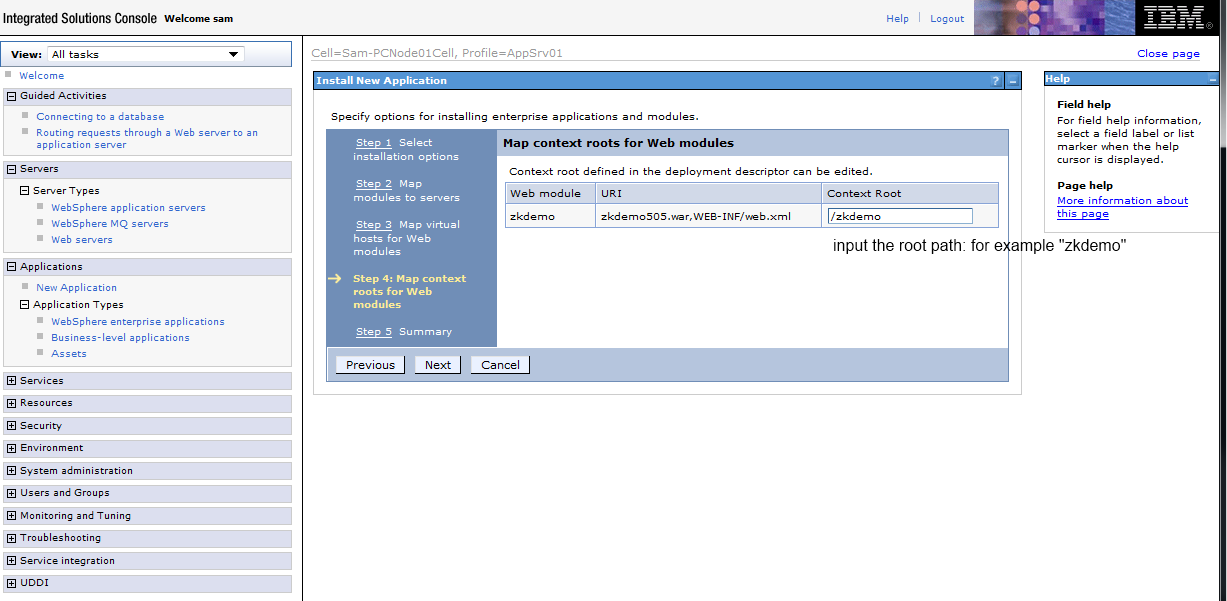
 4. Go through Steps, in Step 4, input Context Root
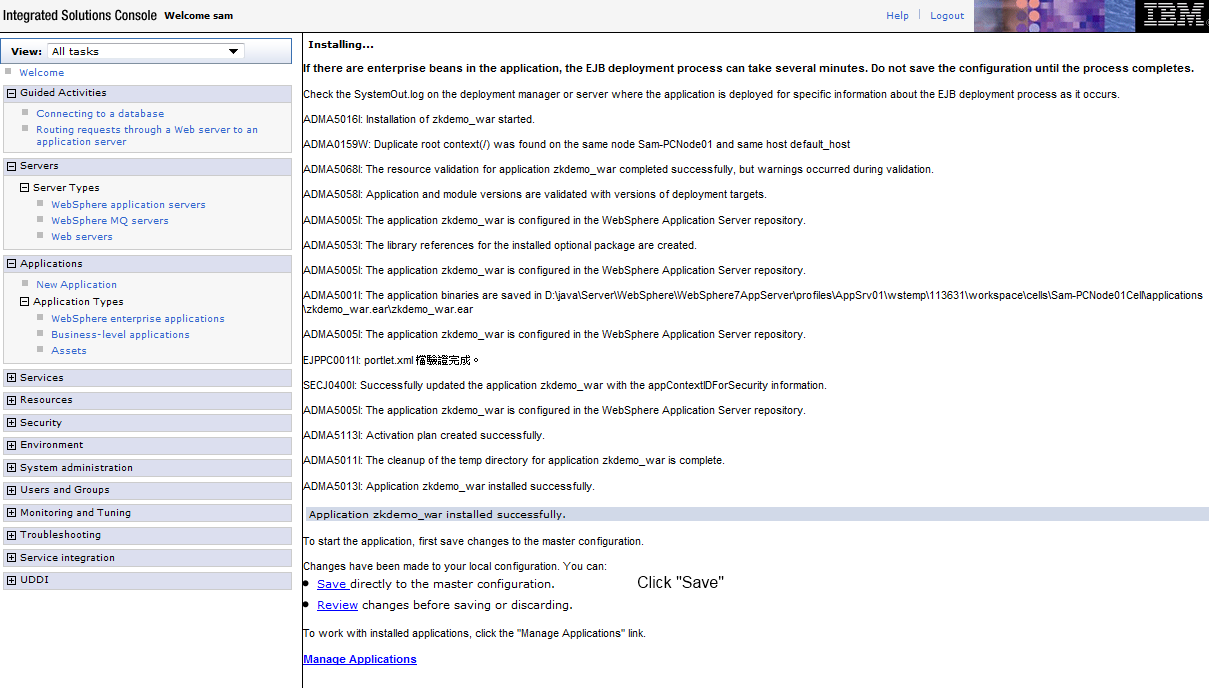
 5. Save configuration
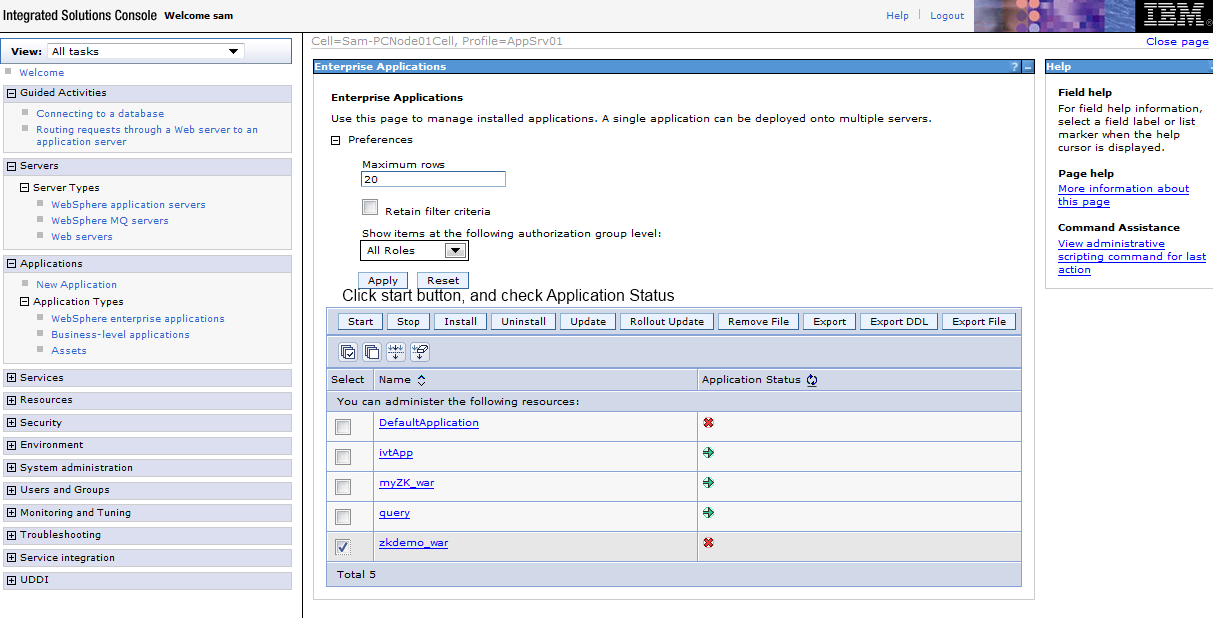
 6. Start application
Find web application port
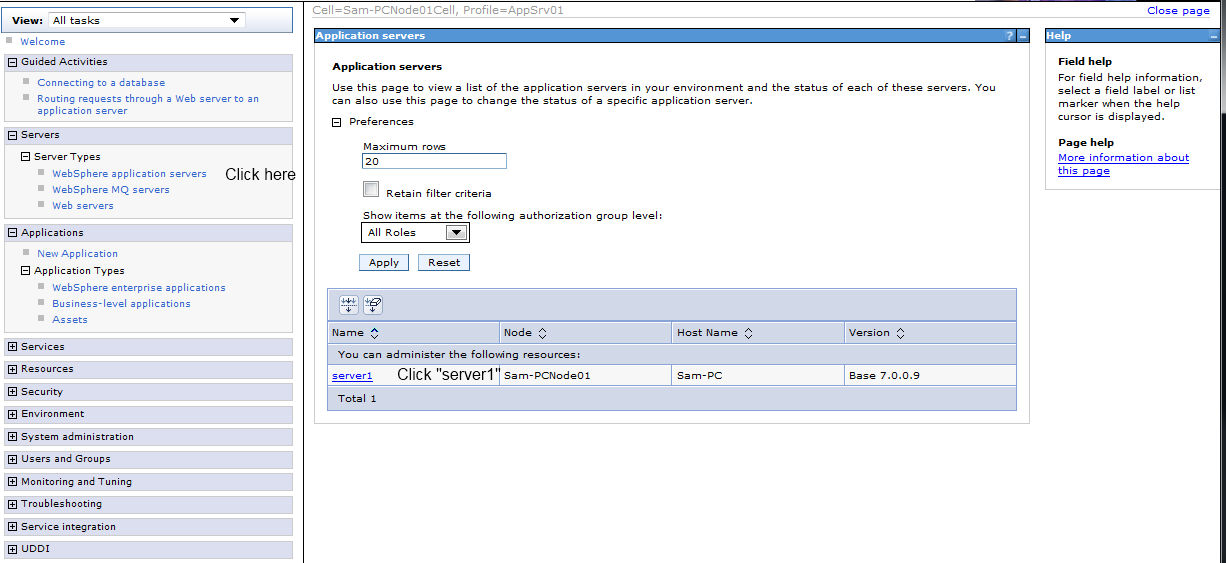
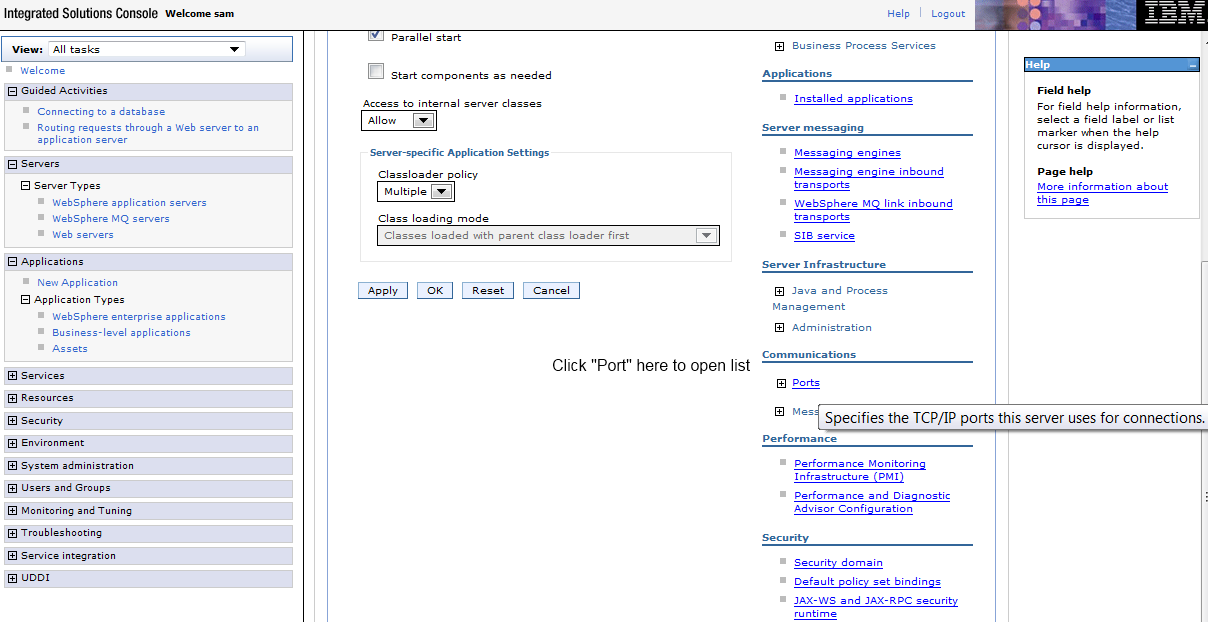
1. Servers -> Server Types -> WebSphere application servers -> Click "server1"
 2. Communcations -> Click on "Ports"
 3. Check WC_defaulthost
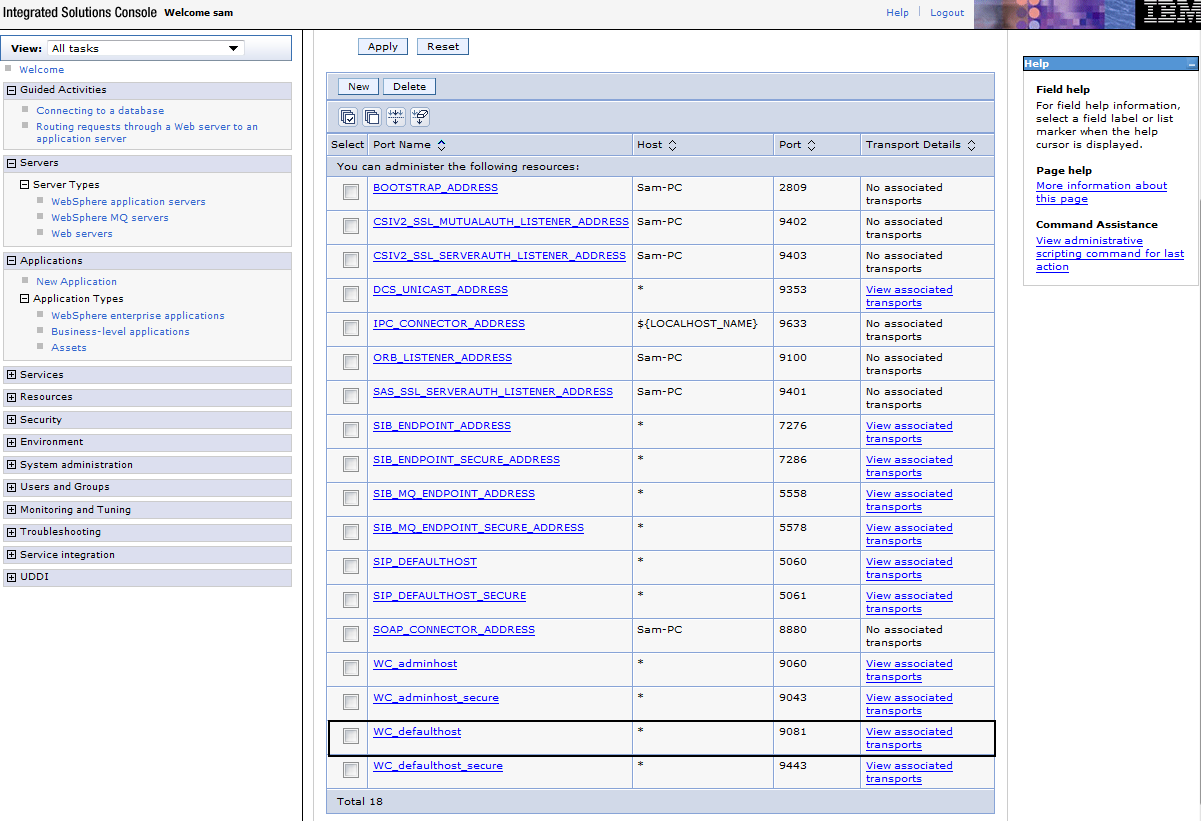
View Web application
Version History
| Version | Date | Content |
|---|---|---|
